업비트 알림봇 만들기 5편 - 대시보드 만들기
※ 이 게시물은 쿠팡 파트너스 활동의 일환으로, 이에 따른 일정액의 수수료를 제공받습니다.
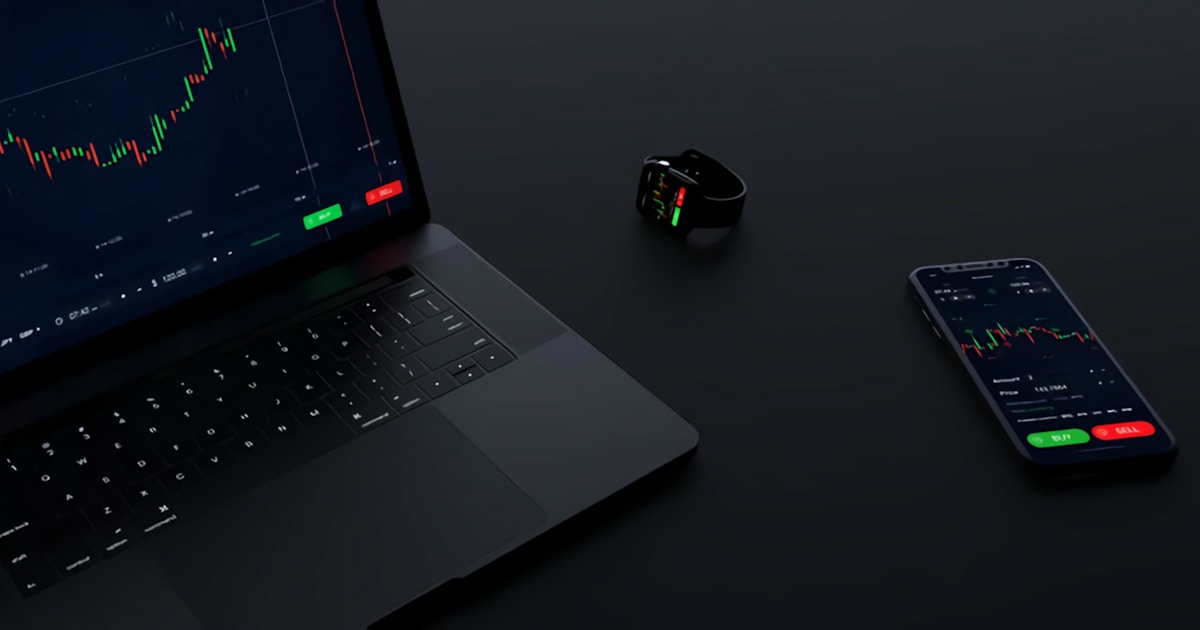
알림봇 만들고 나니까 가끔 현재 가격을 한눈에 보고 싶더라고요. 업비트 앱 열기는 귀찮고요. 그래서 간단한 대시보드를 추가로 만들었어요. URL 하나로 여러 코인 가격 확인하니까 진짜 편해요.
지난 4편까지 해서 텔레그램 알림봇은 완성했어요. 이번 편에서는 보너스로 웹 대시보드를 만들어볼 거예요. URL만 열면 실시간 코인 가격을 볼 수 있게요.
라우팅 추가하기
지금까지는 URL이 하나였는데, 이제 여러 경로를 처리해야 해요:
/: 대시보드 페이지/api/prices: JSON API/api/check: 수동 알림 체크
src/index.js를 수정할게요:
export default {
  async fetch(request, env, ctx) {
    const url = new URL(request.url);
    const path = url.pathname;

    try {
      // 라우팅
      if (path === '/api/prices') {
        return handlePricesAPI();
      }

      if (path === '/api/check') {
        return handleCheckAPI(env);
      }

      // 기본: 대시보드
      return handleDashboard();

    } catch (error) {
      return new Response(JSON.stringify({ error: error.message }), {
        status: 500,
        headers: { 'Content-Type': 'application/json' },
      });
    }
  },

  async scheduled(event, env, ctx) {
    await checkAndNotify(env);
  },
};
가격 조회 API
먼저 JSON으로 가격 데이터를 반환하는 API부터 만들게요:
async function handlePricesAPI() {
  const markets = 'KRW-BTC,KRW-ETH,KRW-XRP,KRW-DOGE,KRW-SOL';

  const response = await fetch(
    `https://api.upbit.com/v1/ticker?markets=${markets}`
  );
  const tickers = await response.json();

  const prices = tickers.map(t => ({
    market: t.market,
    name: t.market.replace('KRW-', ''),
    price: t.trade_price,
    priceFormatted: t.trade_price.toLocaleString('ko-KR') + '원',
    change: t.change,
    changeRate: (t.change_rate * 100).toFixed(2),
    changePrice: t.change_price,
    volume24h: Math.floor(t.acc_trade_price_24h / 100000000), // 억 단위
    high: t.high_price,
    low: t.low_price,
  }));

  return new Response(JSON.stringify(prices, null, 2), {
    headers: {
      'Content-Type': 'application/json',
      'Access-Control-Allow-Origin': '*',
    },
  });
}
대시보드 HTML 만들기
이제 진짜 대시보드를 만들어볼게요. Cloudflare Workers에서 HTML을 반환하면 돼요:
async function handleDashboard() {
  // 가격 데이터 조회
  const markets = 'KRW-BTC,KRW-ETH,KRW-XRP,KRW-DOGE,KRW-SOL';
  const response = await fetch(
    `https://api.upbit.com/v1/ticker?markets=${markets}`
  );
  const tickers = await response.json();

  // 코인 카드 HTML 생성
  const coinCards = tickers.map(t => {
    const changeRate = (t.change_rate * 100).toFixed(2);
    const isRise = t.change === 'RISE';
    const isFall = t.change === 'FALL';

    const colorClass = isRise ? 'rise' : isFall ? 'fall' : 'even';
    const arrow = isRise ? '▲' : isFall ? '▼' : '-';
    const sign = isRise ? '+' : isFall ? '-' : '';

    return `
      <div class="coin-card ${colorClass}">
        <div class="coin-name">${t.market.replace('KRW-', '')}</div>
        <div class="coin-price">${t.trade_price.toLocaleString('ko-KR')}원</div>
        <div class="coin-change">
          ${arrow} ${sign}${changeRate}%
          <span class="change-price">(${sign}${t.change_price.toLocaleString('ko-KR')}원)</span>
        </div>
        <div class="coin-volume">거래대금: ${Math.floor(t.acc_trade_price_24h / 100000000).toLocaleString()}억</div>
      </div>
    `;
  }).join('');

  const html = `
<!DOCTYPE html>
<html lang="ko">
<head>
  <meta charset="UTF-8">
  <meta name="viewport" content="width=device-width, initial-scale=1.0">
  <title>코인 대시보드</title>
  <style>
    * {
      margin: 0;
      padding: 0;
      box-sizing: border-box;
    }
    body {
      font-family: -apple-system, BlinkMacSystemFont, 'Segoe UI', sans-serif;
      background: #1a1a2e;
      color: #eee;
      min-height: 100vh;
      padding: 20px;
    }
    .header {
      text-align: center;
      margin-bottom: 30px;
    }
    .header h1 {
      font-size: 1.8rem;
      margin-bottom: 10px;
    }
    .header .time {
      color: #888;
      font-size: 0.9rem;
    }
    .grid {
      display: grid;
      grid-template-columns: repeat(auto-fit, minmax(280px, 1fr));
      gap: 20px;
      max-width: 1200px;
      margin: 0 auto;
    }
    .coin-card {
      background: #16213e;
      border-radius: 12px;
      padding: 20px;
      border-left: 4px solid #888;
    }
    .coin-card.rise {
      border-left-color: #ef4444;
    }
    .coin-card.fall {
      border-left-color: #3b82f6;
    }
    .coin-name {
      font-size: 1.2rem;
      font-weight: bold;
      margin-bottom: 10px;
      color: #fff;
    }
    .coin-price {
      font-size: 1.5rem;
      font-weight: bold;
      margin-bottom: 8px;
    }
    .coin-change {
      font-size: 1rem;
      margin-bottom: 8px;
    }
    .rise .coin-change {
      color: #ef4444;
    }
    .fall .coin-change {
      color: #3b82f6;
    }
    .change-price {
      font-size: 0.85rem;
      opacity: 0.8;
    }
    .coin-volume {
      font-size: 0.85rem;
      color: #888;
    }
    .refresh-btn {
      display: block;
      margin: 30px auto;
      padding: 12px 30px;
      background: #0f3460;
      color: #fff;
      border: none;
      border-radius: 8px;
      font-size: 1rem;
      cursor: pointer;
    }
    .refresh-btn:hover {
      background: #1a4980;
    }
  </style>
</head>
<body>
  <div class="header">
    <h1>실시간 코인 시세</h1>
    <div class="time">업데이트: ${new Date().toLocaleString('ko-KR')}</div>
  </div>

  <div class="grid">
    ${coinCards}
  </div>

  <button class="refresh-btn" onclick="location.reload()">새로고침</button>
</body>
</html>
  `;

  return new Response(html, {
    headers: { 'Content-Type': 'text/html; charset=utf-8' },
  });
}
전체 코드 통합
지금까지 만든 모든 기능을 하나로 합쳐볼게요:
// 텔레그램 메시지 전송
async function sendTelegramMessage(botToken, chatId, message) {
  const url = `https://api.telegram.org/bot${botToken}/sendMessage`;
  const response = await fetch(url, {
    method: 'POST',
    headers: { 'Content-Type': 'application/json' },
    body: JSON.stringify({
      chat_id: chatId,
      text: message,
      parse_mode: 'HTML',
    }),
  });
  return response.json();
}

// 알림 조건 체크
function checkAlertConditions(ticker) {
  const alerts = [];
  const changeRate = ticker.change_rate * 100;

  if (ticker.change === 'RISE' && changeRate >= 5) {
    alerts.push(`🚀 <b>${ticker.market}</b> 급등! +${changeRate.toFixed(2)}%`);
  }
  if (ticker.change === 'FALL' && changeRate >= 5) {
    alerts.push(`📉 <b>${ticker.market}</b> 급락! -${changeRate.toFixed(2)}%`);
  }
  return alerts;
}

// 가격 체크 및 알림
async function checkAndNotify(env) {
  const markets = 'KRW-BTC,KRW-ETH,KRW-XRP,KRW-DOGE,KRW-SOL';
  const response = await fetch(`https://api.upbit.com/v1/ticker?markets=${markets}`);
  const tickers = await response.json();

  const allAlerts = [];
  for (const ticker of tickers) {
    allAlerts.push(...checkAlertConditions(ticker));
  }

  if (allAlerts.length > 0) {
    const message = `⏰ ${new Date().toLocaleString('ko-KR')}\n\n${allAlerts.join('\n')}`;
    await sendTelegramMessage(env.TELEGRAM_BOT_TOKEN, env.TELEGRAM_CHAT_ID, message);
  }

  return { alerts_count: allAlerts.length, alerts: allAlerts };
}

// API: 가격 조회
async function handlePricesAPI() {
  // ... (위에서 작성한 코드)
}

// API: 수동 체크
async function handleCheckAPI(env) {
  const result = await checkAndNotify(env);
  return new Response(JSON.stringify(result, null, 2), {
    headers: { 'Content-Type': 'application/json' },
  });
}

// 대시보드
async function handleDashboard() {
  // ... (위에서 작성한 코드)
}

export default {
  async fetch(request, env, ctx) {
    const url = new URL(request.url);
    const path = url.pathname;

    try {
      if (path === '/api/prices') return handlePricesAPI();
      if (path === '/api/check') return handleCheckAPI(env);
      return handleDashboard();
    } catch (error) {
      return new Response(JSON.stringify({ error: error.message }), {
        status: 500,
        headers: { 'Content-Type': 'application/json' },
      });
    }
  },

  async scheduled(event, env, ctx) {
    await checkAndNotify(env);
  },
};
자동 새로고침 추가
대시보드가 자동으로 업데이트되면 더 좋겠죠? JavaScript를 추가해볼게요:
<script>
  // 30초마다 자동 새로고침
  setTimeout(() => location.reload(), 30000);

  // 남은 시간 표시
  let remaining = 30;
  setInterval(() => {
    remaining--;
    document.querySelector('.time').textContent =
      '업데이트: ${new Date().toLocaleString('ko-KR')} (${remaining}초 후 갱신)';
  }, 1000);
</script>
추가 아이디어
여기까지 기본 대시보드예요. 더 발전시키고 싶다면:
1. 차트 추가
Chart.js나 Lightweight Charts 라이브러리로 가격 차트를 그릴 수 있어요.
2. 관심 코인 설정
URL 파라미터로 보고 싶은 코인을 선택:
https://your-worker.dev/?coins=BTC,ETH,SOL3. 알림 기준 설정
대시보드에서 알림 기준(5%, 10% 등)을 바꿀 수 있게 하기.
4. 다크/라이트 모드
토글 버튼으로 테마 변경.
최종 배포
npm run deploy배포가 끝나면:
https://your-worker.dev/→ 대시보드https://your-worker.dev/api/prices→ JSON APIhttps://your-worker.dev/api/check→ 수동 알림 체크
시리즈 마무리
5편에 걸쳐서 업비트 코인 알림봇을 만들어봤어요. 정리하면:
| 편 | 내용 |
|---|---|
| 1편 | 프로젝트 소개, 준비물 |
| 2편 | Cloudflare Workers 세팅 |
| 3편 | 업비트 API 연동 |
| 4편 | 텔레그램 알림 + 스케줄러 |
| 5편 | 웹 대시보드 |
서버 비용 0원으로 24시간 돌아가는 알림봇이에요. 코드를 조금만 수정하면 주식, 환율, 날씨 등 다른 API로도 응용할 수 있어요.
궁금한 점이나 개선 아이디어가 있으면 댓글로 남겨주세요!
운영자 실전 노트
실제 프로젝트 진행하며 겪은 문제
- 대시보드 성능 최적화 → 자동 새로고침 주기를 30초~1분으로 설정
- 실시간 업데이트 구현 → WebSocket 대신 주기적 polling이 구조가 단순함
이 경험을 통해 알게 된 점
- HTML 직접 생성보다 템플릿 리터럴이 Workers에서 효율적이다
- Chart.js 같은 라이브러리 추가로 시각화 향상 가능하다